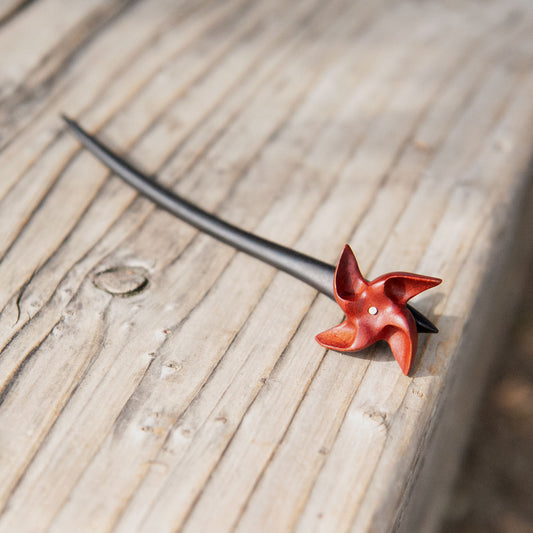
Wooden hair pins are timeless accessories that add a natural, elegant touch to any hairstyle. Whether you’re a beginner in woodworking or an experienced craftsman, making your own wooden hair pin is a rewarding and creative project. Follow this step-by-step guide to craft a unique, handmade wooden hair pin.

Materials and Tools Needed:
- A piece of peach wood
- A pencil for marking
- A coping saw or scroll saw
- Sandpaper (ranging from 100 to 400 grit)
- A file or rasp
- Wood stain or natural oil (such as linseed or walnut oil)
- A soft cloth for applying the finish
Step 1: Choose and Prepare Your Wood
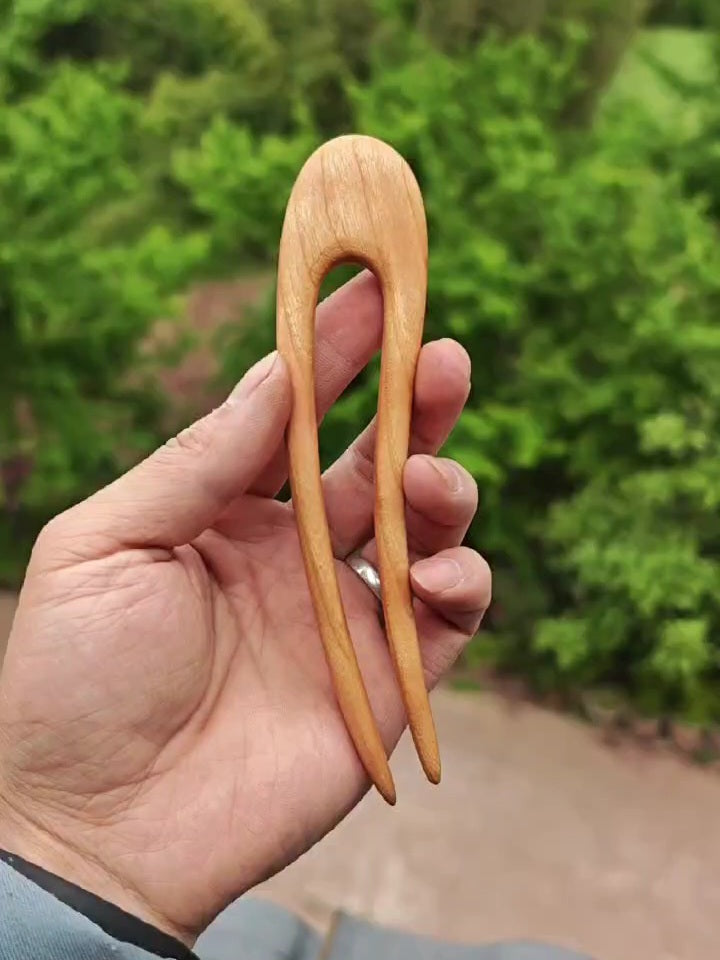
Select a piece of peach wood that is strong yet lightweight. The wood should be about 7 inches long, 4 inch wide, and 1/2 inch thick. Peach wood is preferable as it offers durability and a smooth finish. Use a pencil to mark the general shape of your hair pin on the wood.

Step 2: Draw a Pattern and Cut Out the Shape
Draw your desired hair pin shape on a piece of paper. Once you are satisfied with the design, cut out the paper pattern and stick it onto the peach wood using a glue stick. Using a coping saw or scroll saw, carefully cut along the outline you’ve drawn. If you’re new to woodworking, start with a simple, slightly tapered shape that’s easier to manage.


Step 3: Sand the Surface
To ensure a polished and smooth finish, begin sanding with coarse-grit sandpaper (100-150 grit) and work your way up to finer grits (up to 400 grit). Pay extra attention to smoothing out rough edges and achieving a comfortable, sleek feel.


To enhance the beauty of the wood and protect it from moisture, apply a wood finish of your choice. Natural oils like linseed or walnut oil will enrich the wood grain and give it a smooth, polished look. Use a soft cloth to apply the finish evenly and let it dry completely.

Conclusion
Creating your own wooden hair pin is a satisfying DIY project that results in a beautiful, handcrafted accessory. Whether you make it for yourself or as a gift, a wooden hair pin is a stylish, eco-friendly alternative to plastic hair accessories. With just a few tools and some patience, you can craft a timeless piece that complements any hairstyle. Happy crafting!